Example project
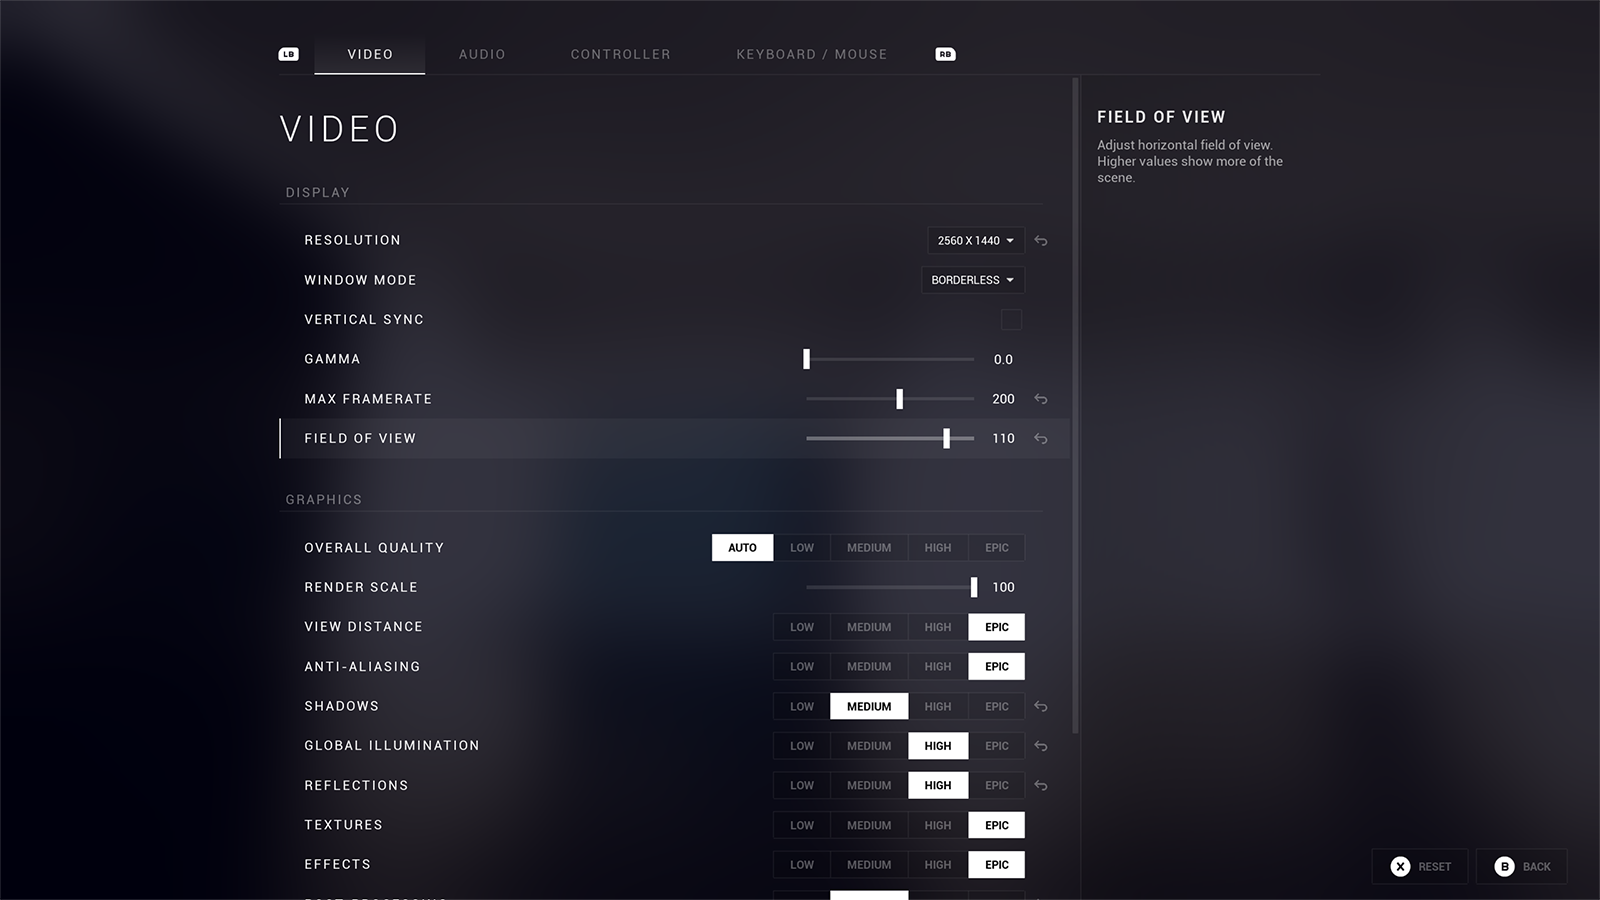
The example project demonstrates a complete Auto Settings menu that you can inspect, run, and adapt for your project.
Overview
The Auto Settings example project is a complete demonstration featuring:
- Complete Settings Menu System with tabbed navigation and 4 main categories
- Video/Graphics Settings including quality presets, resolution, and window modes
- Audio Settings with master volume, music, and SFX controls
- Input Remapping for both keyboard/mouse and gamepad with conflict detection
- Cross-Platform Input Icons for different gamepad types
- CommonUI Plugin for menu structure and gamepad navigation
To adopt this menu in your project, follow Migrating the menu.
Setup guide
- Visit the version compatibility page to determine which example project version to download.
- Download the example project and select the appropriate version.
- Extract the downloaded project to your desired location.
- If you are using a direct-download Auto Settings plugin build from Fab Additional Files, place the extracted
AutoSettingsfolder in the example project'sPluginsdirectory. See Downloads if you need help finding the right build. - Open
AutoSettingsProject.uproject.
Running the demo
- Press Play in Editor or
F5. - Use
WASDon keyboard or the left stick on gamepad to move the character. - Press Escape on keyboard or the Menu button on gamepad to open the settings menu.